Arduino Theremin Theremin is a fascinating musical instrument, and this is a version that runs on Arduino, by Urs Gaudenz of Gaudi Lab (Via Arduino Blog) Travertine and Resin Table Top Topographical lagoon tables by Alexandre Chapelin of LA Table (Via Colossal) 3D Modeling Sharks and Other Creatures Sharks and other wonderful living things refuse to […]

Tips & Tricks Working with Thermopl...
Dave Hrynkiw
January 29, 2019
Today we are going to be taking a look at one of our favorite go-to materials for easy molding and quick repair, Caprolactone Thermoplastic!
This plastic, more commonly known as ShapeLock, Friendly Plastic, Instamorph or Polymorph, is a biodegradable polyester with a low melting point. When solid, it has physical properties of a very tough, nylon-like plastic, but will melt into a putty-like consistency at only 60°C. Caprolactone's specific heat and conductivity are low enough to make handling a breeze and is ideal for small-scale modelling, parts fabrication, repair of plastic objects, or rapid prototyping where heat resistance is not needed.
As Valentine's Day is fast approaching, we wanted to showcase a fun way for beginners to make a unique DIY gift. The possibilities are endless, as you're only limited by your imagination and creativity!
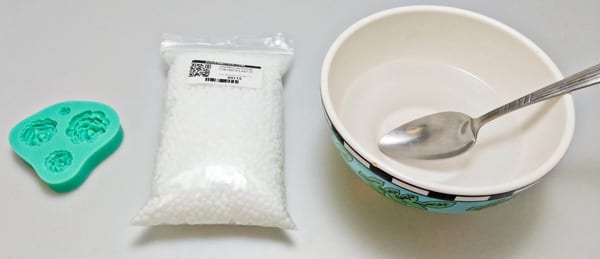
Items to have:
- Caprolactone Thermoplastic (You don’t need a lot)
- Latex gloves
- Boiling water with a bowl and spoon
- A silicone ice cube tray or Jell-O tray of your desired design
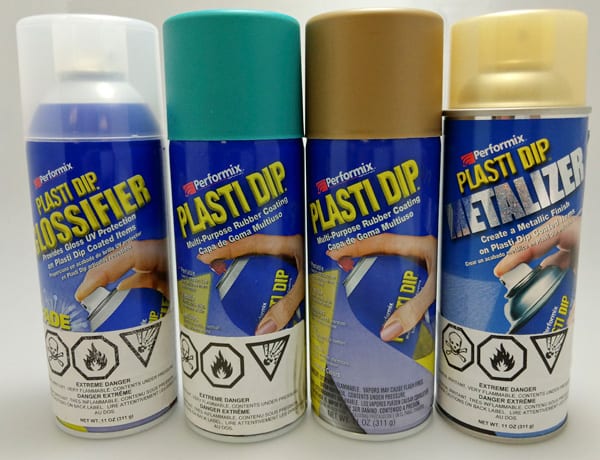
- Acrylic paint, spray paint or Plasti Dip paint
Tips before you start:
- Heating it too much will cause it to become too gooey, like pizza dough, making it difficult to get off your hands/gloves and insert into the molding
- You can use a soldering iron to curve and smooth out the edges a bit
- Having constant boiling water close at hand to re-melt the plastic if needed really helps
- As a first test, we used tap water and boiled it in a small electric kettle. We then transfered the boiling water to a bowl and poured in the plastic beads to start the softening process. This technique didn't quite soften the plastic enough and while some beads were melted, other were still solid. We would highly recommend keeping your water at a constant boil while the plastic softens to get all of the beads to the same consistency of "meltiness".
Molding Caprolactone
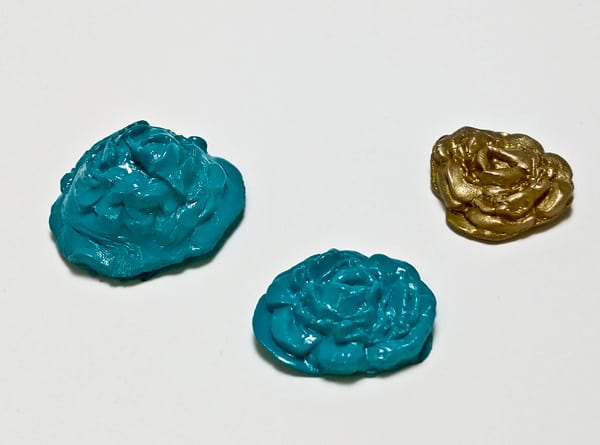
To demonstrate what you can do with caprolactone, we decided to make some decorative molded flowers that we then coated in Plasti Dip to give it some color. This is an example of how you can take a normally utilitarian repair plastic and turn it into something that expresses more creativity and charm!
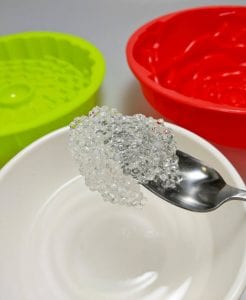
Step 1:
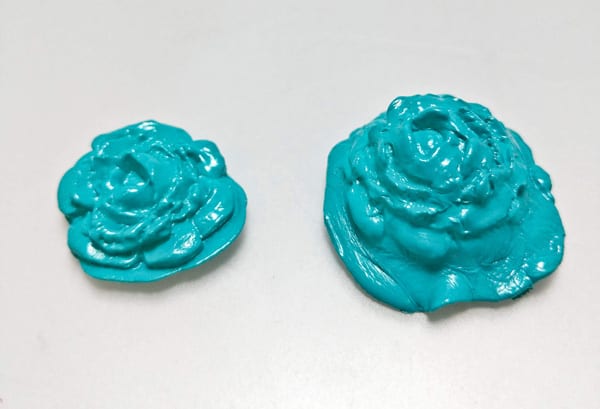
Start by boiling some water and then carefully pouring it into a bowl. Add some thermoplastic beads to the water and stir it around with a spoon. After a couple of seconds, you should see the pebbles change from their milky white color to transparent like in the picture below. While being careful not to burn yourself, scoop the plastic out of the water, knead it into a ball, and then fit it into your mold. If the result wasn't what you were hoping for, not to worry! Simply put it back into the bowl with some newly boiled water and reform it again!

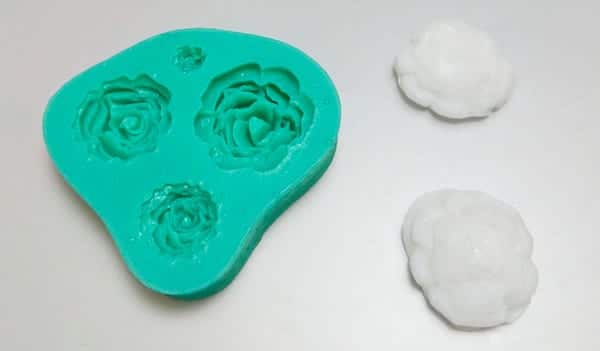
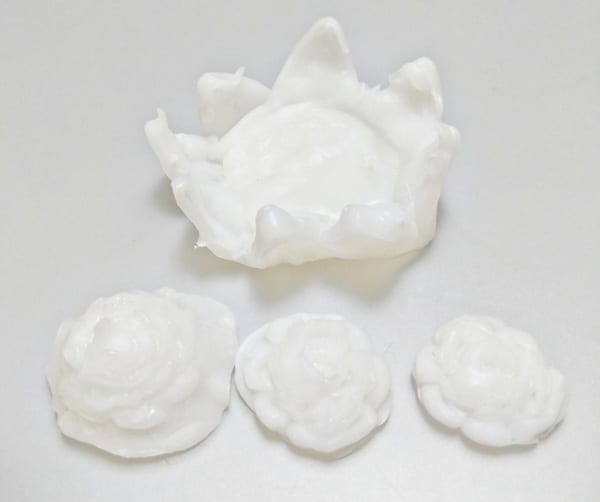
Step 2:
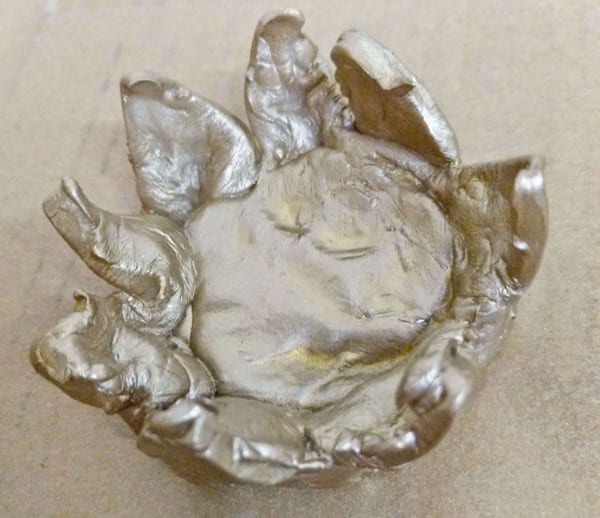
Carefully remove the thermoplastic from the mold, trying not to shift the shape of the plastic in the process. In our case, we wanted to try bending the flower pedals upwards so we removed it before it fully cooled. However, if you wish, you can leave it in the mold until it cools and hardens before removing it.
Step 3:
Get creative! We used some Plasti Dip paint which is rubberized and easy to peel off. You can use acrylic paint or other spray paint if you wish! There are dye powders out there, though they can be a bit pricey.
Patience is key when spraying. Work in a well-ventilated area and use scrap cardboard underneath your plastic to prevent the paint from ruining your work surface. Hold the nozzle before contacting the plastic and move it side to side. It's okay to do multiple layers to get an even coat. You may need to rotate the cardboard to get at different angles of the flower.
Step 4:
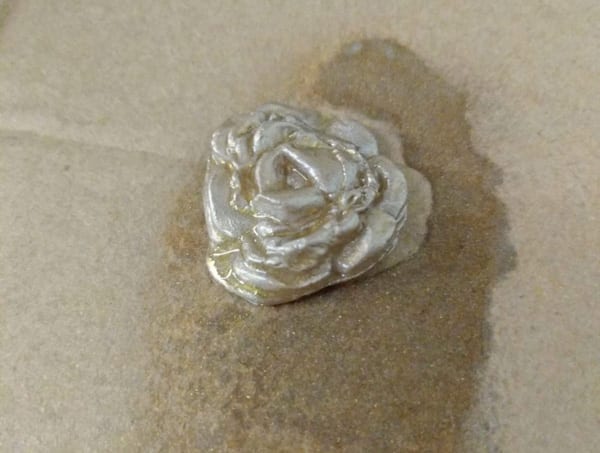
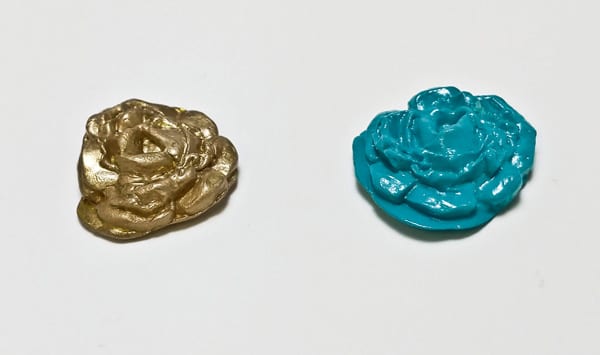
The hardest part is not rushing to add more layers. Wait for the paint to dry and add more once it does. Our Plasti Dip base coat dried quickly and to spruce it up, we added a Glossifer spray to the teal flowers and Metalic Gold flakes and Glossifer spray to the bronze ones.
Step 5:
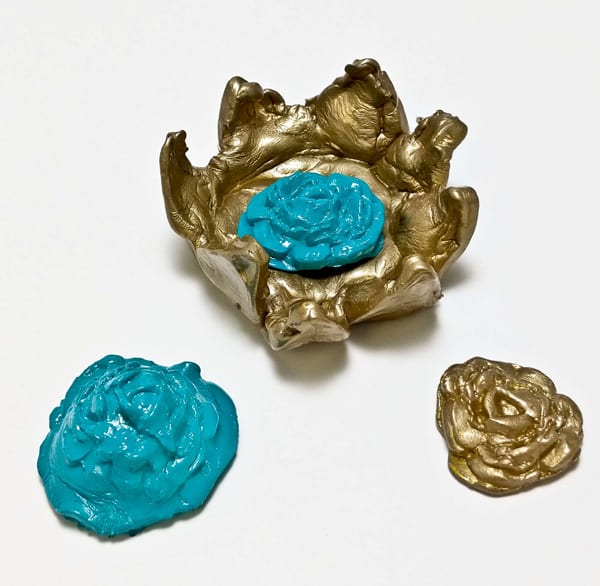
Check for any spots you may have missed in spraying. Once you're happy with the results, remove the flowers off the cardboard and check to see if any layers of spray haven't bonded to the cardboard. Once it's all dry you are good to go!
This is our result:
PS: If you decide to DIY this project, drop us an email at media@solarbotics.com so we can feature your results!
MORE POSTS
BEP Application: Pummer
The following instructions detail how to build a simple pummer using a BC2 (Bicore) BEP (Bicore Experimenter PCB). A pummer is a solar powered self activating LED flasher. The difference between a pummer and a BLFNAR (blinky light for no apparent reason) is that a pummer has a soft turn off, which means that it turns on fast, but slowly fades away.
More of a Bug Hunt than a stand up fight...
So as some of you have noticed our new site went up yesterday, but unfortunately not without some issues. Today is a day of bug hunting, (which makes the Weyland-Yutani shirt I'm wearing even more appropriate) and thanks to the efforts of those of you who have taken the time to email me I've been […]
New Parts
We've added to our new parts listing the 8212 Maxim Voltage Monitor, the dual AA & AAA battery holder, and the new 1F 2.5V aerogel capacitor. Of them all, the new super-capacitor is pretty cool...
Solarbotics has been operating for more than 25 years, bringing electronics know-how and supplies to both the electronics professional and hobbyist. We'll be happy to help you too!
Solarbotics, Ltd. is not responsible for misprints or errors on product prices or information. For more information, please see our Terms and Conditions.
Warning: This product contains chemicals known to the State of California to cause cancer and birth defects or other reproductive harm.
Please visit www.P65Warnings.ca.gov for more information. This item was manufactured prior to August 31, 2018.